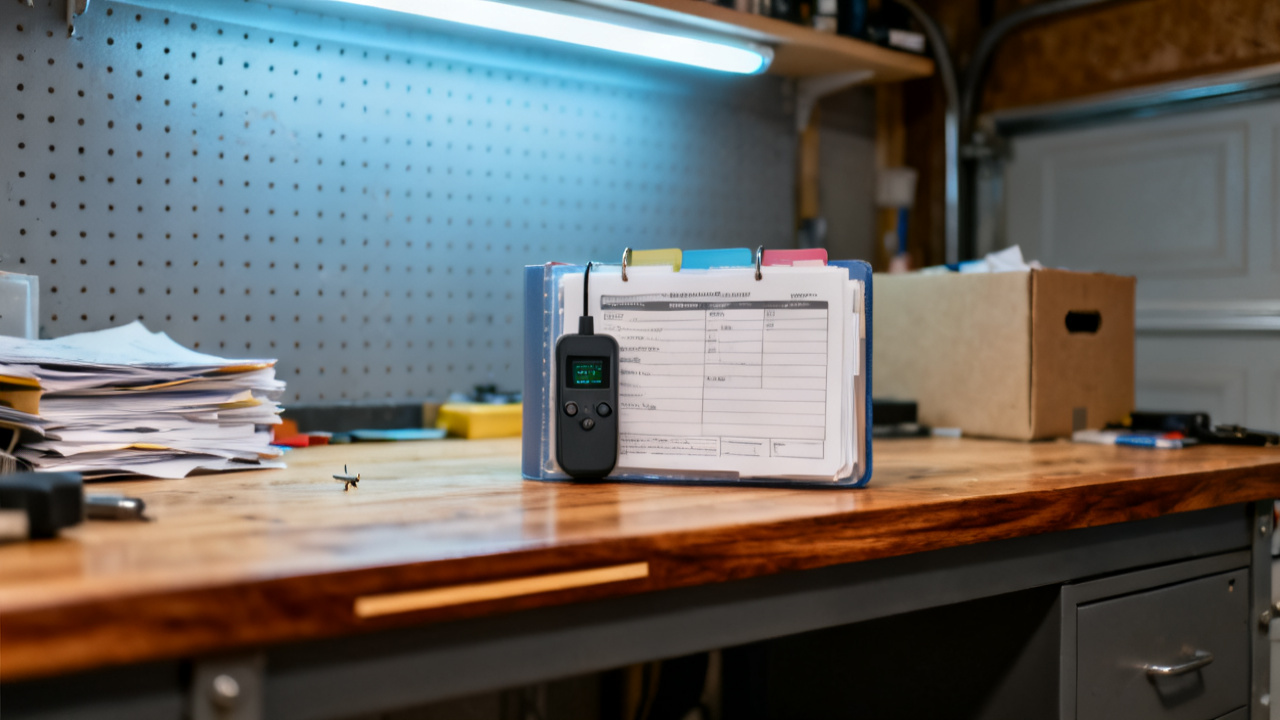
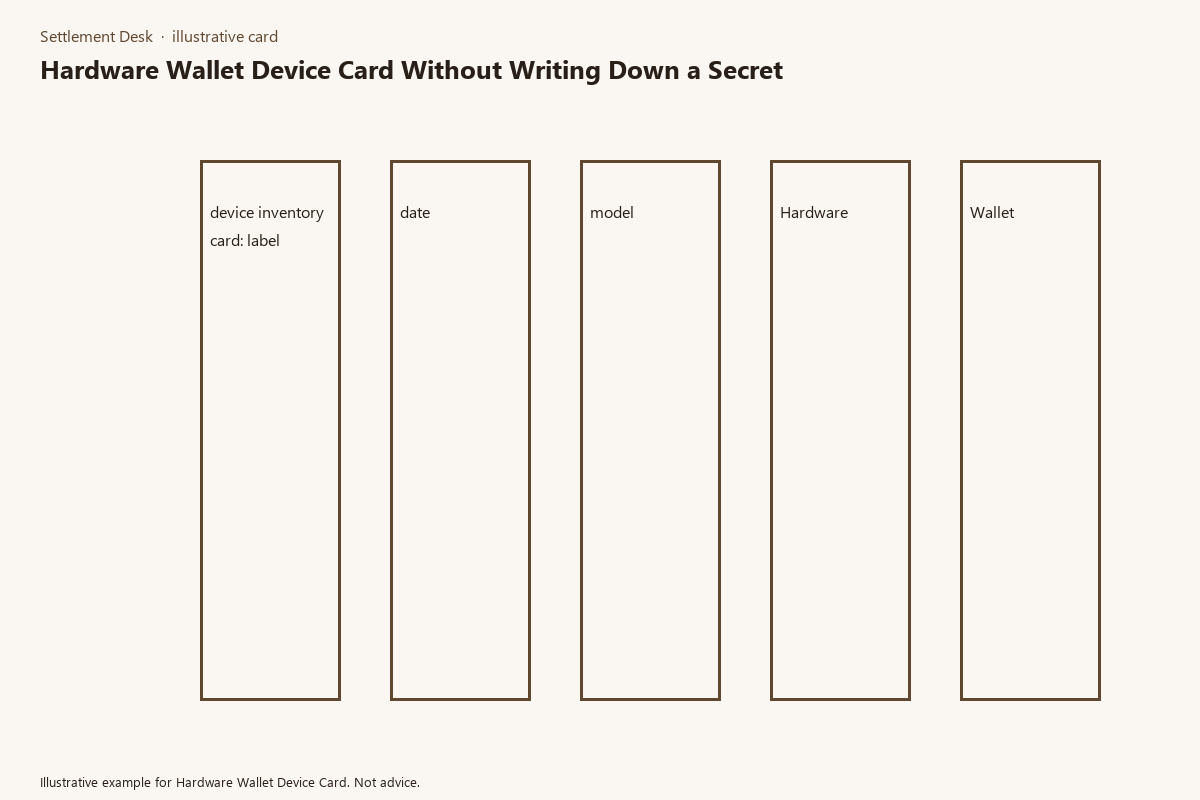
Completing a hardware wallet device inventory card captures key details for proper unbacked crypto asset record keeping. This form eliminates the need to write sensitive seed phrases or private keys on physical documentation, reducing risk of unauthorized access to stored assets if the card is lost or stolen. All fields focus on device identification, purchase, and storage details only, with no entry spaces reserved for secret access credentials. You may cross-reference this card with crypto gain-and-loss records maintained by Settlement Desk for asset tracking purposes, if applicable, and consult a licensed tax professional for questions about reporting requirements for stored crypto holdings.
Inventory Card Label Field Entry Requirements
Label fields can only contain 8 to 12 characters, mixing uppercase letters and numbers only, no special symbols, no words that reference the device’s stored assets, seed phrase location, or access codes. For example, HW-007-BTC is invalid because it references the asset held, while XJ492KPL7 is valid because it is a random identifier with no asset or access context. You should assign the label to the device at the time of initial setup, using a permanent marker to print the same identifier on the back of the hardware wallet device in a location that is not visible when the device is stored in its standard carrying case. Do not include your full name, social security number, address, or any other personal identifiable information in the label field, to reduce risk of identity theft if the card is separated from your secure files. If you are maintaining inventory cards for multiple devices, ensure each label is unique, so you can distinguish between devices without referencing stored asset details. You may keep a separate encrypted digital note that maps each label to the associated wallet addresses and asset holdings, but that note must be stored on a password-protected device that is not connected to the internet, and never linked physically or digitally to the printed inventory card.

Date Entry Box Formatting Specifications
Three distinct date entry boxes appear on the standard inventory card: date of purchase, date of initial setup, and date of last firmware update. All dates must follow MM/DD/YYYY format, no abbreviations for months, no two-digit year entries. If you do not have a receipt for the purchase date, you may use the date listed on the original shipping confirmation email, or the first date you have a record of a crypto transfer to the wallet address associated with the device, with a small superscript 1 next to the date to indicate it is an estimated date. Do not use dates that correspond to seed phrase creation dates, or dates you shared access to the device with another party, as those details are not relevant to device inventory tracking. Illustrative example: If you purchased a device on 03/14/2022, set it up on 03/18/2022, and updated the firmware on 11/02/2024, those three dates are entered in their respective boxes, no additional notation is needed if you have supporting records for each entry. If you have restored a device to factory settings and reinitialized it for use with a new wallet, use the date of the most recent initialization as the setup date, and add a note in the general notes field indicating the device was reset, with no details about the previous wallet or seed phrase used.
Model Column Dropdown Menu Option List
The model column on the inventory card uses a pre-populated dropdown menu of the most common hardware wallet device models, with a free-text entry option for less common or custom devices that do not appear on the standard list. All entries must match the exact model name listed on the device manufacturer’s official product page, no nicknames or shortened model names are allowed. The following table includes the standard dropdown options, plus guidance for validating the model number if you are unsure of your device’s official designation:
| Dropdown Option Label | Official Model Number | Compatible Blockchain Networks | Common Device Color Options |
|---|---|---|---|
| Ledger Nano S Plus | LDG-NSP-2021 | 5,000+ including Bitcoin, Ethereum, Solana | Matte Black, Transparent Purple |
| Trezor Model T | TRZ-MT-2020 | 1,000+ including Bitcoin, Ethereum, Cardano | Space Gray, White |
| SafePal S1 | SFP-S1-2021 | 10,000+ including Bitcoin, Ethereum, BNB Chain | Matte Black, Neon Blue |
| Keystone Pro 3 | KST-P3-2023 | 4,000+ including Bitcoin, Ethereum, Cosmos | Gunmetal Gray, Black |
| Custom/Unlisted Device | N/A | Enter in notes field | Enter in notes field |
If you select the custom/unlisted device option, you must enter the full official model number and manufacturer name in the notes field at the bottom of the inventory card, to ensure the record is complete for future reference. Do not enter any details about the amount of crypto stored on the device, or any access credentials, in the notes field. If you are unsure of your device’s model number, you can locate it printed on the bottom edge of most hardware wallet devices, or in the “about” section of the device’s on-screen menu when it is powered on. Do not enter unofficial model names such as “old Ledger” or “blue Trezor” as these are not specific enough for accurate inventory tracking.
Printed Card Lamination Procedure Steps
Once you have filled out all required fields on the inventory card, verify that no secret information (seed phrase fragments, private keys, PIN codes) is visible anywhere on the front or back of the printed card. Then, use a standard 5 mil thermal lamination pouch, sized to fit a standard 3×5 inch index card (the standard size for these inventory cards). Do not use self-adhesive lamination sheets, as they are more prone to peeling and damage over time, which could render the card unreadable. Step 1: Set your thermal laminator to the 5 mil setting, and allow it to preheat fully per the manufacturer’s instructions. Step 2: Insert the printed inventory card into the lamination pouch, ensuring it is centered and no edges are folded over. Step 3: Feed the pouch through the laminator slowly, taking care to avoid creasing the pouch as it enters the machine. Step 4: Allow the laminated card to cool fully for 2 minutes before handling it, to avoid smudging the printed ink or warping the plastic. Step 5: Trim any excess lamination from the edges of the card, leaving a 1/8 inch border of plastic around all sides to seal the card fully and prevent moisture damage. If you have added handwritten notes to the card (such as the superscript notation for estimated dates), ensure the ink is fully dry before inserting the card into the lamination pouch, to avoid smudging that could make the notes unreadable. Do not attach any sticky notes or additional labels to the card before lamination, as these will peel off inside the laminator and damage both the card and the machine. Once laminated, you may attach a small RFID blocking sticker to the back of the card if you store it near other contactless cards, to avoid accidental scanning of any data printed on the card.
Secure Folder Storage Guidelines for Completed Cards
All completed laminated inventory cards should be stored in a fireproof, waterproof locked secure folder, separate from any physical copies of your seed phrase or private key backups. Do not store the inventory card in the same location as the hardware wallet device itself, so that if one item is lost or stolen, the other is not accessible to unauthorized parties. You may store one copy of the inventory card in your home secure folder, and a second copy in a safe deposit box at a federally insured financial institution, for redundant backup. If you share access to your secure folder with a trusted family member or legal representative, you do not need to share any access credentials for the hardware wallet device alongside the inventory card, as the card only contains device identification details, no secret information. Do not scan or save a digital copy of the inventory card to a cloud storage service, as this increases the risk of unauthorized access via a data breach. Your secure folder should also be stored in a location that is not accessible to casual visitors to your home, such as a locked desk drawer or home safe, in addition to being fireproof and waterproof. If you move residences, make sure to relocate the inventory card folder to your new secure location as part of your moving checklist, to avoid losing the record during transit. If you dispose of a hardware wallet device, you should shred the corresponding inventory card fully using a cross-cut shredder, to ensure no identifiable details about the device remain accessible. You may consult a licensed estate planning professional if you want to include provisions for accessing the hardware wallet device and associated inventory cards in your estate plan, to ensure your assets are transferred according to your wishes in the event of your incapacity or death.
Fill out one inventory card for each active hardware wallet device you own within the next 7 days, following the requirements listed on this page.
Filed by the Settlement Desk.